Using PHP CS Fixer on NetBeans 8.0
2014-09-16
Recently on it’s version 8.0 (note: there’s a new stable release, NetBeans 8.0.1 at the present moment), the NetBeans IDE highlighted some new resources for PHP projects. One of the most interesting is the extension for PHP Coding Standards Fixer (A.K.A. PHP CS Fixer).
What is the PHP CS Fixer: a brief explanation
![]()
For those who didn’t heard about PHP CS Fixer before (/me included), it’s pretty easy: it’s a tool to evaluate and apply fixes into your PHP code, according to the famous PHP code standards well know as PSR (PHP Standard Recomendation, as described at the PHP FIG site). PHP CS Fixer is a SensioLabs product, the company behind great quality products as the Symfony framework, SensioLabs Security Checker and many others.
Requirements
- PHP >= 5.3
- NetBeans 8.0
Note: At the present moment I’m writing this post, there’s still no support available for NetBeans higher than 8.0.
1) Obtaining the PHP CS Fixer
Download .phar file
For this post, we’ll pick the .phar file option. You can download it, which contains all the necessary resources to start using it locally into your projects. The download link is located here, at the PHP CS Fixer site.
Note: Other download options and it’s detailed instructions can be found at the PHP CS Fixer site.
2) NetBeans settings
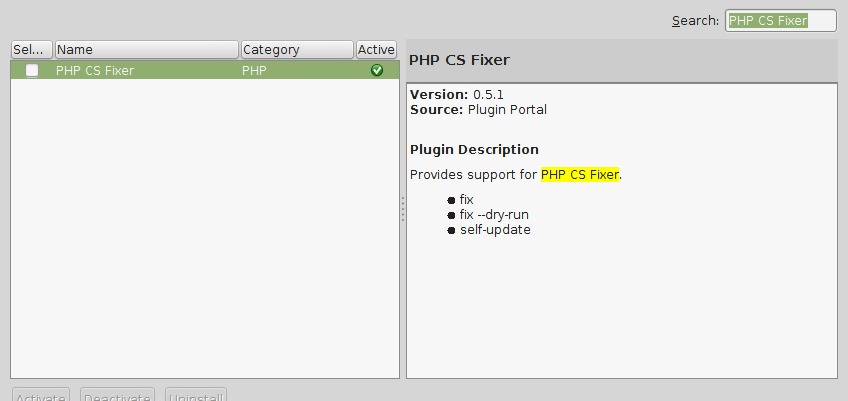
First, you need to install the PHP CS Fixer plugin, which you can obtain through the Plugins download area.
Go to ‘Tools > Plugins’, and wait for the plugins list to be loaded.
Click on the ‘Available Plugins’ tab. On the ‘Search’ box, type ‘PHP’ and then select on the plugins available list the ‘PHP CS Fixer’ by checking the check box. Then, click on the Install button, and follow the basic instructions.
As soon the instalation is finished, go to ‘Tools > Options’, then select the ‘PHP’ tab. Now go to ‘Frameworks & Tools’ tab, and then, select ‘PHP CS Fixer’ on the left.
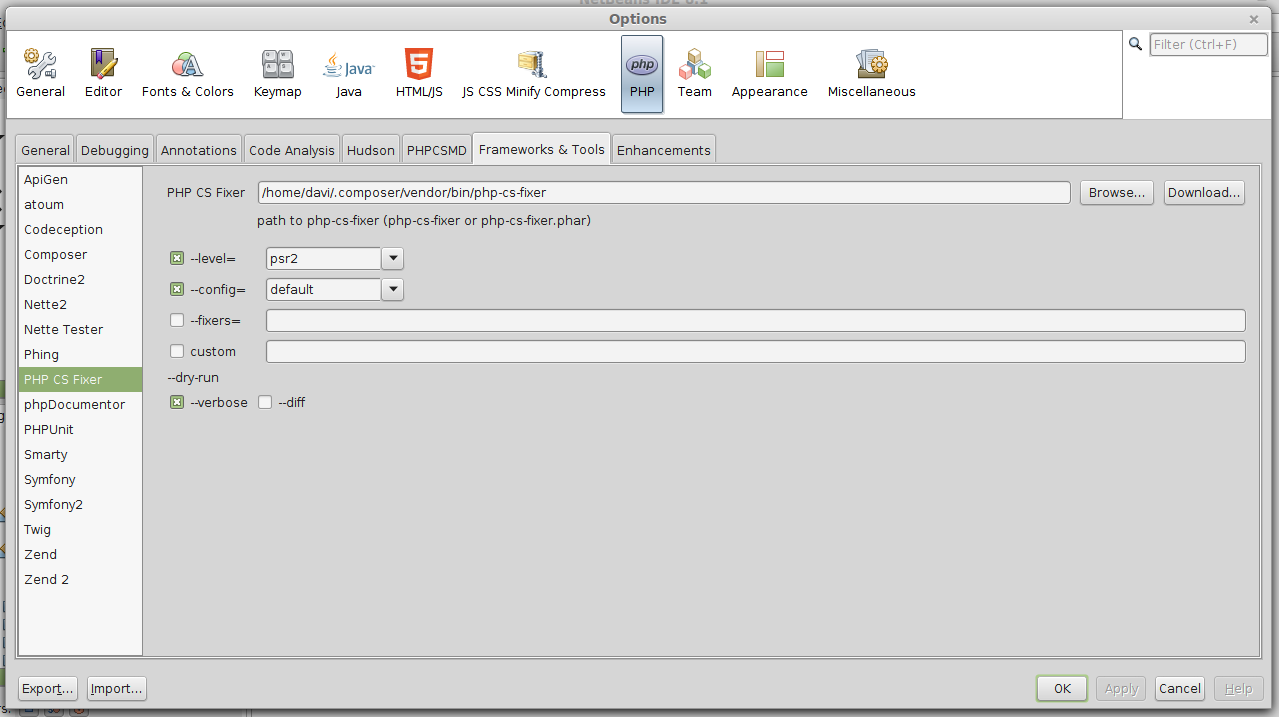
In the ‘PHP CS Fixer’ field, click on the ‘Browse..’ button at the right, and then select the .phar file’s location.

Once you’ve done these steps, Click the ‘Apply’ button on the bottom right corner and it’s done. Now you got everything ready to use :-)
3) Basic usage
You can start using the PHP CS Fixer by choosing a single file, folder or even an entire project. Go to the ‘Projects’ window, and pick any of these choices using the mouse’s right button. Then, select the ‘PHP CS Fixer’ option and then select ‘Fix’.
As PHP CS Fixer is a smart tool, if you’re using Composer into your project it will ignore the vendor folder (you don’t want to perform changes into framework code, right?).
You’ll see a window displaying all the output from the modified files into your given selection.

Attention: This action will automatically change your files, so NetBeans wouldn’t notice the file changes (Ctrl + Z will not undo these fixes), so please use a Control Version System like Git or Subversion to manage and assure that you’ll only accept changes that you approve.
Tip: On the PHP CS Fixer settings, mark the ‘–verbose’ and ‘–dif’ in the ‘–dry-run’, then select ‘Fix –dry-run’ option to display a list of all fixes that could be applied without changing a single line of code in your files.